📌 Note: Formatting files for upload can sometimes be tricky. If you run into any issues, please reach out to our support team at support@cyberstockroom.com, and we'll be happy to assist you.
Transferring, Checking Items In/Out Using a File
1. Navigate to the Check-In/Out or Transfer Pages. Refer to the articles:
2. Click the ‘Import From File’ Button
- You'll find this button in the upper-right corner of the page.

3. Upload Your File
- Click the "CLICK TO UPLOAD A FILE" button.
- Select and upload a CSV file (e.g., SAMPLE CSV FILE).
- You can create a CSV file using spreadsheet software like Microsoft Excel or a simple text editor like Notepad.
4. Match the Fields
- CyberStockroom will automatically detect the fields from your spreadsheet.
- The detected fields will appear on the left side of the screen.
- Match the Product Number and Quantity fields to their respective columns. (Click, hold, and drag the fields)
- Click Next to proceed.
5. Add a Comment (Optional)
- Write a comment for the transaction.
- Click ‘Save Comment’ to finalize the transaction.
Transferring, Checking Items In/Out Using a File with Multiple Locations
If your transaction involves multiple locations, follow these steps below.
1. Go to the Check-In/Out or Transfer Page. See the articles:
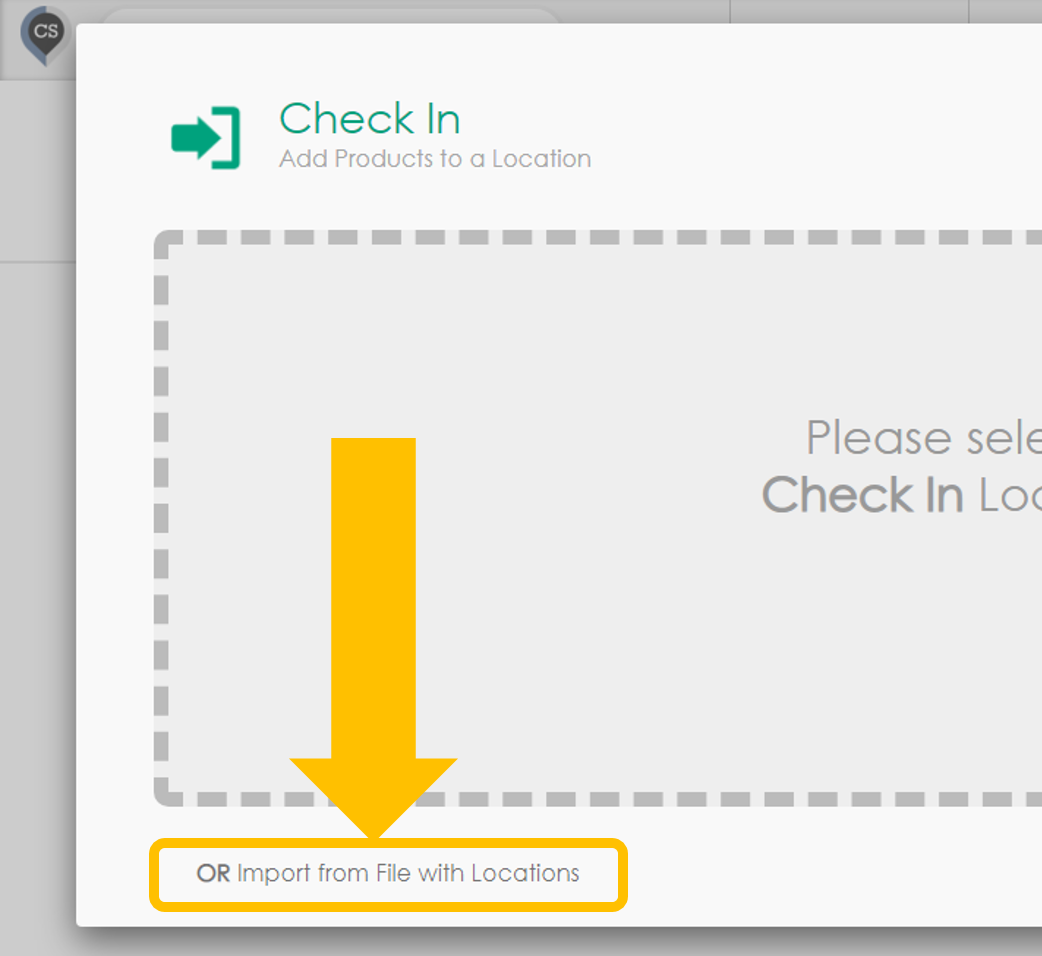
2. Choose Import From File With Locations
- Instead of selecting a specific location, click the button at the bottom-left of the window labeled ‘Import From File With Locations’.
3. Upload Your File
- Click "CLICK TO UPLOAD A FILE" and select a CSV file (e.g., SAMPLE CSV FILE).
4. Match the Fields
- CyberStockroom will detect the fields from your spreadsheet and display them on the left side of the screen.
- Match the following fields to their respective columns:
- Product Number
- Quantity
- Location Number
- For transfers, you’ll also need to match:
- FROM Location Number
- TO Location Number
- Click Next to continue.
5. Add a Comment (Optional)
- Write a comment for the transaction.
- Click ‘Save Comment’ to complete the process.